
|
|

|
|
|
 30-08-2009, 12:38 AM
|
#1 | ||
|
The Thread Killa

Join Date: May 2006
Location: Melbourne
Posts: 1,064
|
I fitted my new 22mm sway bar this arvo and I took a few pics of the procedure (thanks again to Reade from Pedders in St. Kilda for getting the bar in so quickly).
The installation can be done with the car on the ground, but a big bloke like me needs more room to move so I borrowed a pair of ramps from a mate. You can use jack stands, but you'll need a trolley jack under the rear beam to keep the springs compressed. Don't forget to use chocks on the front wheels.  The kit contains all the hardware you need (but not the Stanley knife - that's mine!), plus 2 extra bolts and a little packet of thread lock. The instructions are clearly illustrated, but there's not much descriptive text. 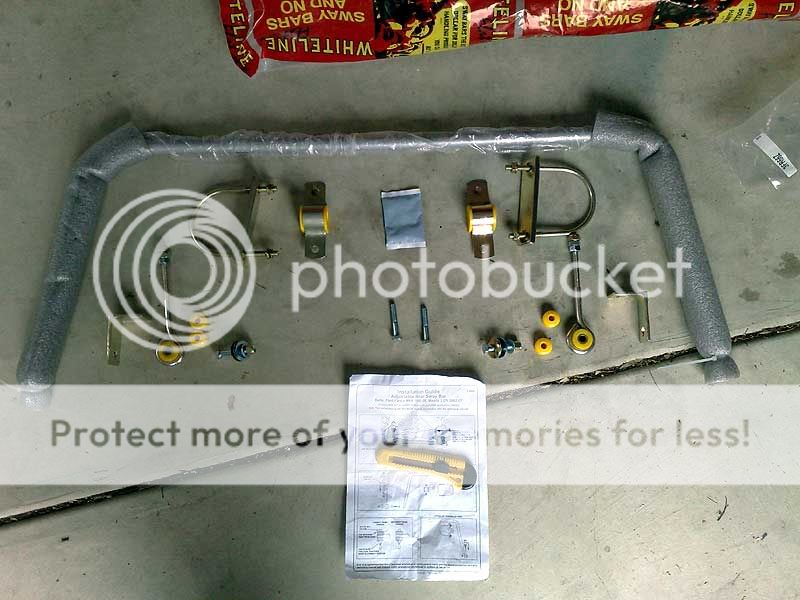 These clamps fit perfectly on the rear beam. If your car is ABS-equipped, you'll need to be careful not to trap any cables or hoses under the clamp. 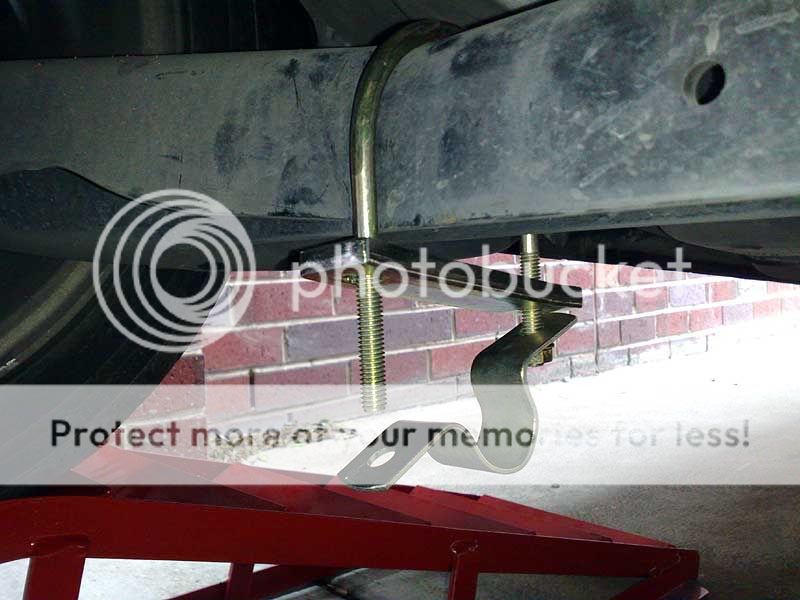 The yellow polyurethane D-bushes slip easily onto the sway bar. Getting the metal D-bush bracket onto the threaded ends of the clamp was much harder. It took a little perseverance and a lot of elbow grease, but I managed it in the end. 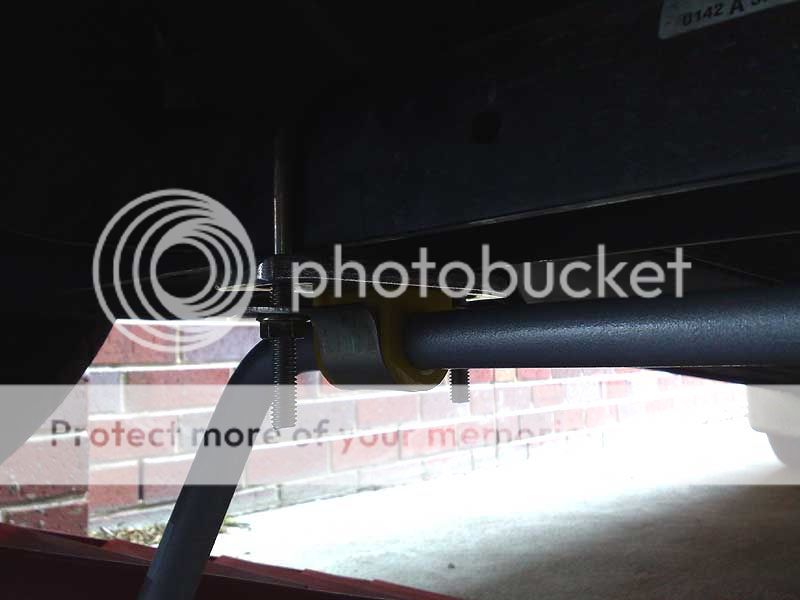 Leave the nuts loose at this point. My wife's old yoga mat made a comfortable surface on which to lie. 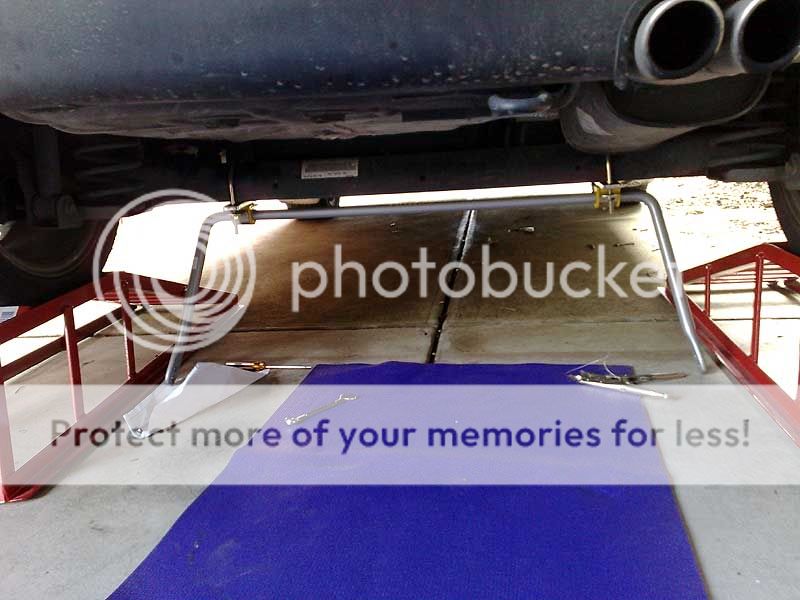 The bolt at the bottom of the gas strut needs to be undone, which is why the springs need to be compressed by the car's weight. Using a steel bar over the end of the socket wrench (lengthening the handle) allows you to exert a lot more torque on the bolt. Once extracted, slip the drop link bracket on the bolt and screw it back in. 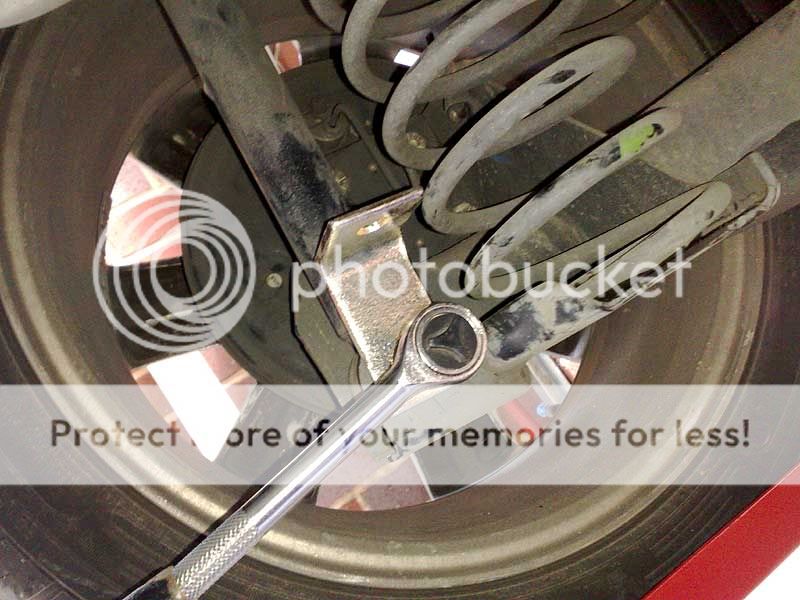 The completed left-side drop link. I hadn't tightened the nuts at this point - I waited until the car was on level ground. 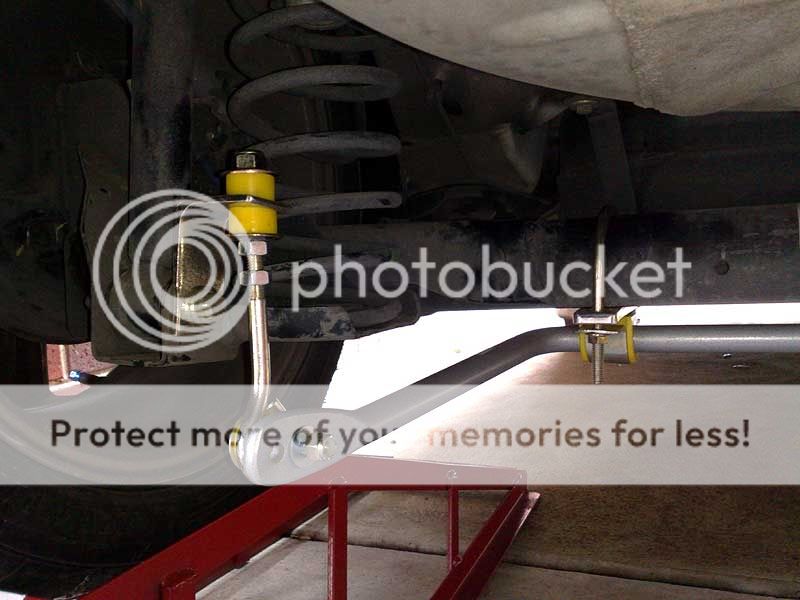 Both drop links attached to the sway bar. A detailed diagram for the washers and bushes is included on the instruction sheet. 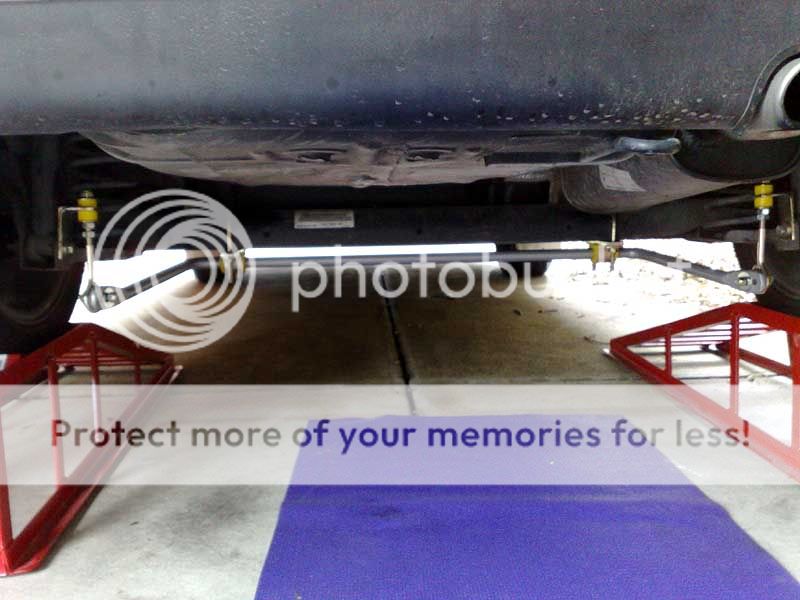 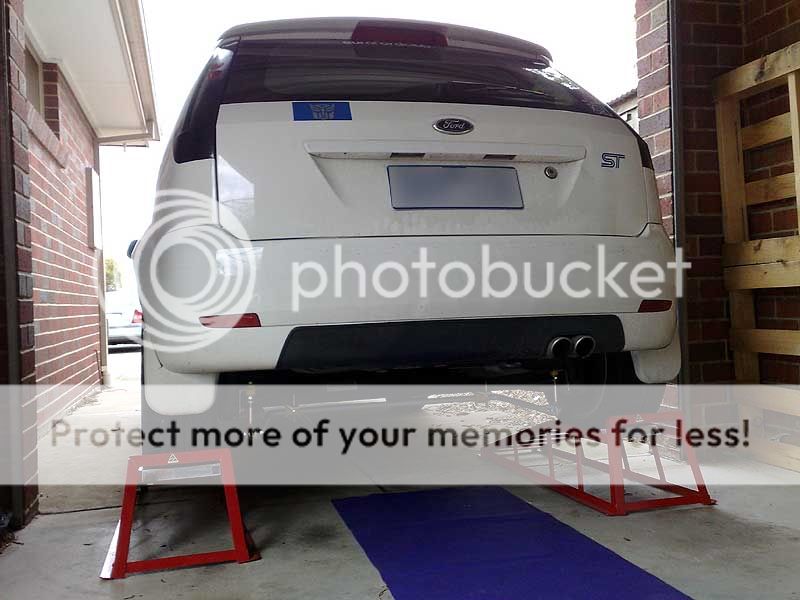 Off the ramps and back on level ground, I finally tightened all the nuts. 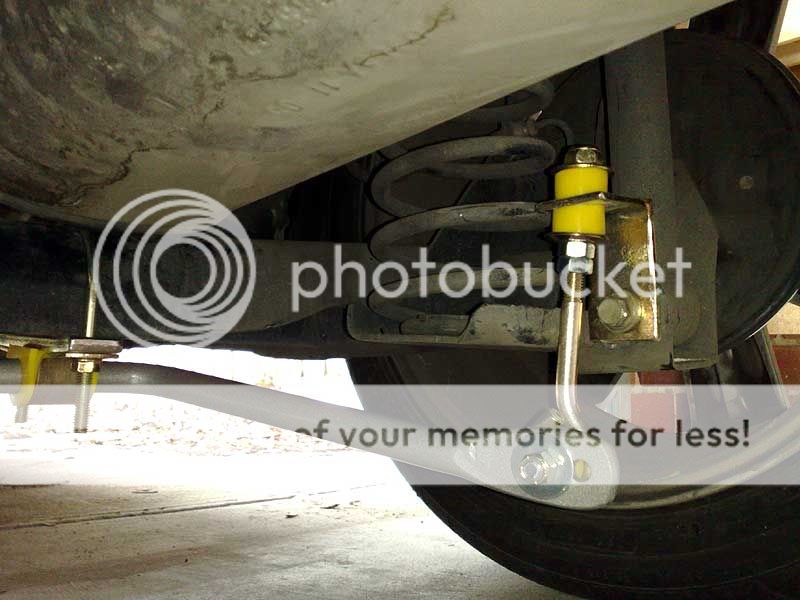 All done! The job took me about 90 minutes, but skinny guys with better tools could probably do it in an hour. The hardest part was getting the D-bush brackets onto the rear beam clamps. If desired, the excess length on the clamps can be cut off with an angle grinder or hacksaw. 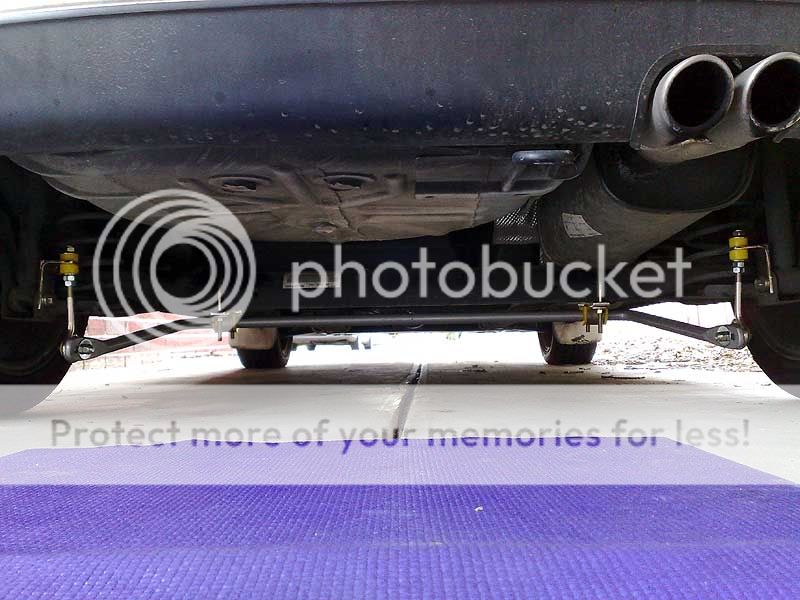
__________________
"It is the mark of an educated mind to be able to entertain a thought without accepting it." - Aristotle |
||

|

|


 Threaded Mode